Most audio enthusiasts find that wiring an amplifier to a standard stereo system elevates their sound experience remarkably. In this step-by-step guide, you’ll learn how to safely and efficiently connect your amplifier, ensuring maximum sound quality while avoiding potential hazards like electrical shorts. By understanding the wiring process, you can enhance your system’s performance and enjoy a richer listening experience. Get ready to dive in and unleash the full potential of your audio setup!
Key Takeaways:
- Understand the connections required for the amplifier, including power, ground, and signal inputs, ensuring compatibility with your stereo system.
- Follow a structured step-by-step process that includes turning off all equipment, securing necessary tools, and carefully handling wires to prevent damage.
- Test the amplifier and stereo system together after installation to ensure proper functionality and sound quality before finalizing the setup.
Understanding Amplifiers
Amplifiers are necessary components in audio systems that boost the audio signal to drive your speakers effectively. By increasing the power of the sound signal, amplifiers enhance audio quality and clarity, making your listening experience more enjoyable. They come in various types and configurations, catering to different audio needs, ensuring optimal sound performance in your standard stereo system.
Types of Amplifiers
- Class A – Known for high quality but low efficiency.
- Class B – Offers better efficiency but may introduce distortion.
- Class AB – A balance of quality and efficiency.
- Class D – Highly efficient, typically used in subwoofers.
- Integrated – Combines amplification and pre-amplification components.
Recognizing the type of amplifier best suited for your system plays a vital role in achieving the desired sound quality.
| Amplifier Type | Key Characteristics |
| Class A | High quality, but less efficient. |
| Class B | More efficient, potential distortion. |
| Class AB | Balance of quality and efficiency. |
| Class D | Highly efficient, compact design. |
| Integrated | All-in-one solution for efficiency. |
Key Features to Consider
Features such as power rating, total harmonic distortion, frequency response, connectivity options, and heat dissipation are pivotal when selecting an amplifier for your stereo system.
- Power Rating – Ensures compatibility with your speakers.
- Total Harmonic Distortion (THD) – Indicates sound quality.
- Frequency Response – Affects the range of audio you can reproduce.
- Connectivity Options – Determines ease of integration.
- Heat Dissipation – Affects long-term performance and reliability.
Knowing these features helps you make an informed decision and select an amplifier that enhances your audio experience without compromising sound quality.
A proper attention to power rating ensures your speakers receive adequate power, while total harmonic distortion gives insight into the amplifier’s sound fidelity. Always consider the frequency response, as it affects audio clarity, and choose amplifiers with diverse connectivity options for seamless integration. Additionally, prioritizing heat dissipation extends the lifespan of your equipment and maintains performance. Understanding these features allows you to maximize your audio setup.
Preparing Your Stereo System
While setting up your amplifier, ensure that your stereo system is ready and accessible. Clear any clutter around your equipment, and check that all components are turned off. This not only helps in identifying wiring points but also sets the stage for a smooth installation process. Make sure to consult your stereo’s manual for specific instructions regarding connections and compatibility to avoid any potential issues.
Tools and Equipment Needed
Tools and equipment play a vital role in the successful installation of your amplifier. You will need a screwdriver, wire strippers, audio cables, speaker wire, and a multimeter to verify connections. Having these tools on hand will ensure a streamlined process and help avoid unnecessary complications during your setup.
Safety Precautions
An important aspect of wiring your amplifier is ensuring your safety throughout the process. Be sure to disconnect your stereo system from the power source before you begin any wiring to prevent electrical shocks or damage to your equipment.
Another key safety measure is to double-check all connections before reconnecting the power. This minimizes the risk of short circuits or equipment failure. Always handle wires with caution and avoid working in wet or damp areas. Taking these steps protects not only your equipment but also ensures your personal safety. Be vigilant, as proper precautions can prevent serious electrical accidents while providing peace of mind during your installation.
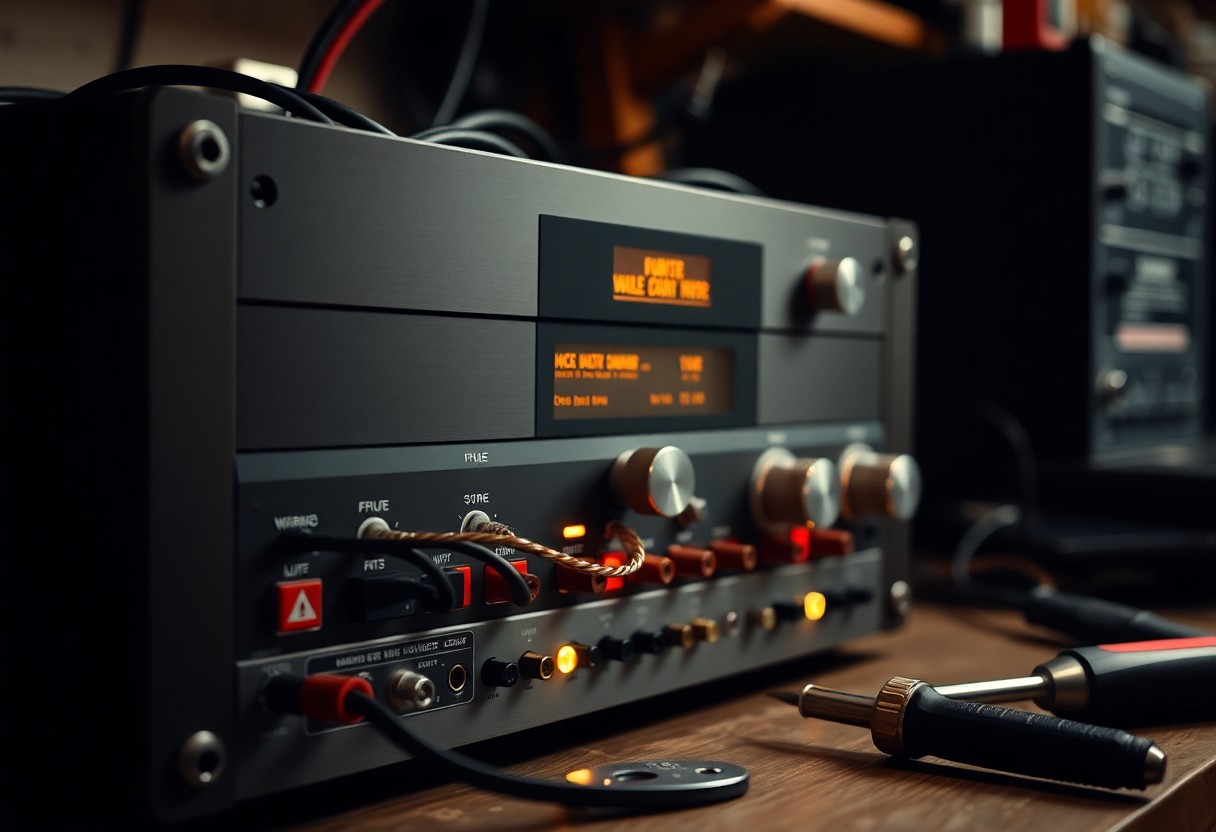
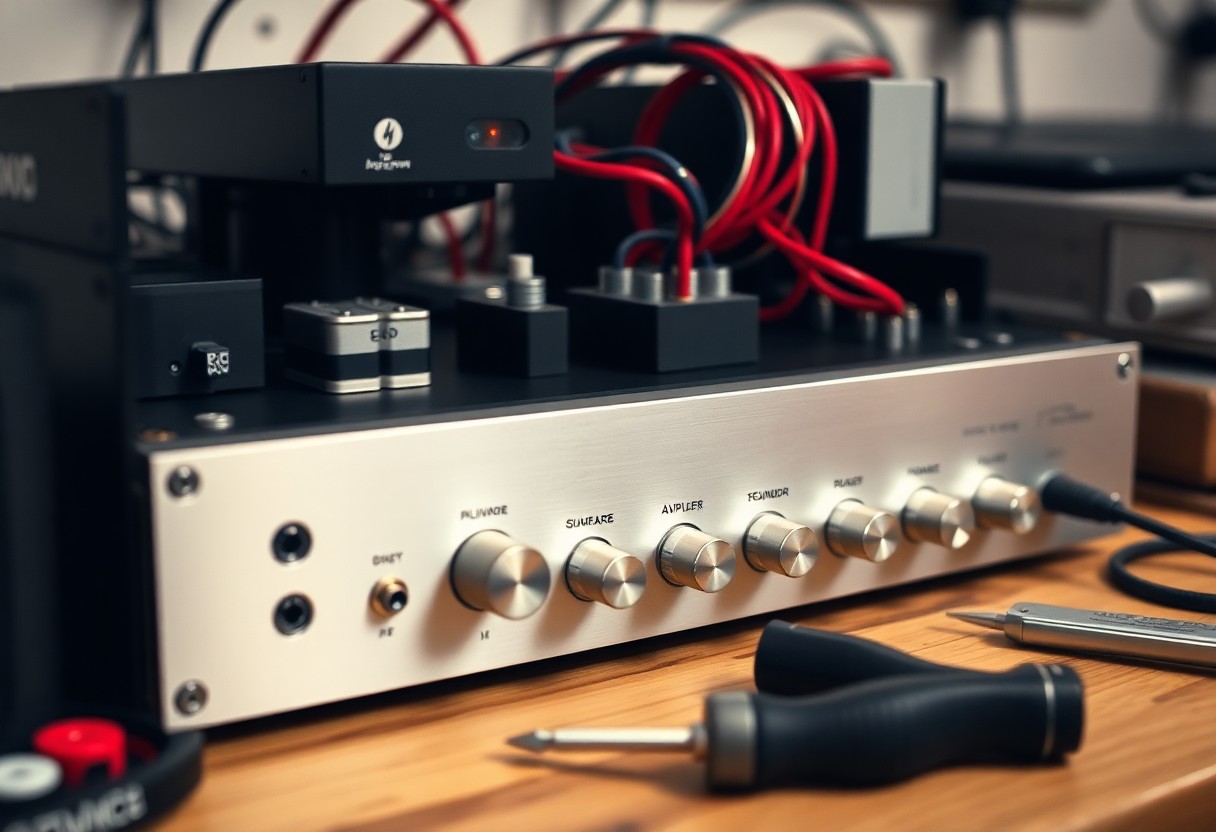
Wiring the Amplifier
To successfully wire your amplifier to a standard stereo system, it’s imperative to understand how the connections work. This process involves ensuring that each wire is correctly connected to avoid damage to your equipment and ensure optimal sound quality. By following the steps outlined below, you will easily integrate your amplifier into your current audio setup.
Identifying Connection Points
You need to locate the connection points on both your amplifier and stereo system. Look for the speaker outputs on your amplifier, as well as the line outputs or speaker outputs on your stereo system. Knowing where these points are is vital to ensure proper wiring and functionality.
Step-by-Step Wiring Process
With the right preparation, wiring your amplifier can be a smooth process. Follow the steps outlined in the table below:
Wiring Steps| 1. Power Off All Components | Ensure that the amplifier and stereo system are completely powered off to avoid any electrical shock. |
| 2. Connect Source Equipment | Use RCA cables to connect the audio source (like a receiver) to the line inputs on the amplifier. |
| 3. Connect Speaker Wires | Connect the speaker wires from the amplifier to the speakers, ensuring correct polarity (positive to positive, negative to negative). |
| 4. Power Connection | Connect the amplifier to a power source, checking that the voltage matches your amplifier’s requirements. |
| 5. Test the System | Power on the audio system and adjust volume levels to test the functionality of your connections. |
Another important aspect to keep in mind is the quality of your wiring. Make sure to use cables that are suitable for your specific system and avoid mixing different gauge wires. Always check that all connections are secure and free from any loose strands that could cause a short circuit. Following these guidelines will ensure a safe and efficient wiring experience, minimizing the risk of damaging your equipment.
Wiring Quality Checks| 1. Inspect Cable Quality | Use cables designed for audio to prevent signal loss. |
| 2. Secure Connections | Ensure all connections are tight and secure to prevent disconnections. |
| 3. Avoid Overheating | Check that the amplifier does not overheat during operation. |
Adjusting the Settings
Unlike the initial setup, adjusting the settings of your amplifier can significantly improve audio quality and tailor the sound to your preferences. Spend some time learning about the equalization options available and the roles each adjustment plays in enhancing your listening experience. Fine-tuning these settings can transform your standard stereo system into a personalized audio masterpiece, so don’t rush this step.
Fine-Tuning the Amplifier
One key aspect of achieving optimal sound is fine-tuning your amplifier’s settings. Begin by adjusting the gain to ensure the output does not distort while maximizing volume levels. Experimenting with bass, midrange, and treble controls can help you find the perfect balance that suits your music taste.
Balancing Audio Levels
An imperative step in enhancing your audio experience is balancing the audio levels across your stereo system. By properly adjusting the left and right speaker outputs, you can achieve a well-rounded sound that doesn’t favor one side over the other.
Plus, ensuring proper balance prevents auditory fatigue and enhances clarity in your audio. Use test tracks or your favorite music to evaluate the sound output from both speakers, adjusting levels until the sound feels cohesive. A well-balanced audio level not only elevates your listening experience but also protects your equipment from potential damage caused by excessive volume disparities. This enhancement is especially important for maintaining sound integrity during prolonged listening sessions.
Troubleshooting Common Issues
Not every installation goes seamlessly, and you’ll want to be prepared for common issues that may arise while wiring your amplifier to a stereo system. This section will help you identify and resolve these problems to ensure optimal performance.
No Sound Output
For those moments when you hear nothing at all, check all your connections to ensure they’re secure and correctly placed. Make sure your amplifier is powered on, and your input source is functioning correctly. It’s also wise to inspect your speaker wires for any damages or improper connections.
Distorted Sound
Little issues can lead to sound distortion, making your audio experience less enjoyable. It’s vital to properly match the amplifier’s power rating to your speakers, ensuring they can handle the output levels without distortion.
Understanding the root causes of distorted sound is key to achieving clear audio. Misconfigured settings on your amplifier, such as excessive gain or incorrect EQ adjustments, can cause distortion. Additionally, using underpowered speakers or damaged cables can also lead to compromised sound quality. You should frequently check and adjust your system’s settings to find the optimal balance and safeguard your speakers from potential damage.
Tips for Optimal Performance
Once again, ensuring the best audio experience requires attention to various factors. Here are some tips for optimal performance:
- Keep cables organized and free from interference.
- Upgrade your speakers for better sound clarity.
- Position your amplifier in a well-ventilated area.
- Regularly check connections for signal loss.
This will help maintain a high-quality sound experience that you deserve.
Maintenance and Care
Clearly, maintaining your amplifier and stereo system is necessary for longevity and optimal performance. Regularly inspect cables for wear and tear, clean contacts to prevent corrosion, and ensure your system remains dust-free. Keep your equipment in a stable environment where the temperature and humidity are controlled to avoid damage. Prioritizing these steps helps you get the most out of your audio experience.
Enhancing Sound Quality
An effective way to boost your sound quality is by adjusting your amplifier settings to match your speakers. Utilize equalizer settings to tailor frequencies to your taste, and consider investing in high-quality interconnects and speaker wires. Make sure your components are compatible for best results.
With the right approach, you can significantly enhance sound quality in your stereo system. Begin by adjusting your amplifier settings to find a balance that complements your speakers. Explore different genres of music and experiment with the equalizer settings to optimize frequencies. Additionally, investing in high-quality cables can drastically improve audio clarity, while proper speaker placement can enhance the soundstage. Always perform tests to ensure everything is functioning optimally, prioritizing your listening experience.
Final Words
Following this step-by-step guide, you can successfully wire an amplifier to your standard stereo system, enhancing your audio experience with increased power and clarity. Ensure that you have all necessary tools and components ready, and take your time during the connection process to avoid mistakes. By doing so, you will enjoy an improved sound quality in your listening environment, making your music experience more enjoyable. Dive in with confidence, and happy listening!
FAQ
Q: What tools and materials do I need to wire an amplifier to my stereo system?
A: To wire an amplifier to your standard stereo system, you will need the following tools and materials: wire cutters/strippers, a screwdriver set, RCA cables, speaker wire, a power wire with inline fuse, ground wire, and possibly a wiring harness depending on your stereo setup. Additionally, ensure you have a suitable amplifier that matches the specifications of your stereo system.
Q: How do I choose the right amplifier for my stereo system?
A: When selecting an amplifier for your stereo system, consider factors such as the total power output (measured in watts), the number of channels you need (e.g., 2-channel or multi-channel), and the impedance compatibility with your speakers. It’s also beneficial to look for an amplifier with low distortion ratings for better sound quality.
Q: What is the correct way to connect power and ground wires to the amplifier?
A: To connect power and ground wires to the amplifier, first, disconnect the car battery to avoid short circuits. Then, connect the power wire from the amplifier’s power terminal to the positive terminal of the battery, using an inline fuse fitted within 18 inches of the battery. Next, connect the ground wire from the amplifier’s ground terminal to a solid ground point on the vehicle chassis, ensuring it is free of paint and rust for a good connection.
Q: How do I connect the speakers to the amplifier?
A: To connect the speakers to the amplifier, use appropriate gauge speaker wire and cut lengths as needed. Strip the ends of the wire and connect one end to the amplifier’s speaker outputs (positive to positive and negative to negative) and the other end to your speakers. Be sure to match the polarity correctly, as incorrect connections can lead to sound issues or damage to the equipment.
Q: Can I wire my amplifier without removing my stereo system?
A: Yes, it is possible to wire your amplifier without removing your stereo system, particularly if your setup allows for easy access to the back of the stereo unit. You may need to use RCA cables to connect the amplifier to the stereo outputs and run power and speaker wires through the existing spaces in your vehicle. However, having clear access may simplify the wiring process and reduce the risk of errors.