Just when you need to adjust your microphone settings, it can be frustrating to navigate various devices. Fortunately, you can easily locate microphone sensitivity settings on any device by following a few simple steps. Whether you’re using a smartphone, tablet, or computer, this guide will walk you through the process with clear instructions. By optimizing your mic settings, you’ll enhance your audio quality for calls, recordings, and streaming, ensuring your voice is heard loud and clear.
Key Takeaways:
- Mic sensitivity settings can typically be found in the audio settings of your device, where you can adjust input levels to suit your needs.
- Different devices and operating systems may have varying methods to access microphone settings; checking the user manual or support websites can provide specific guidance.
- Many applications have their own microphone settings separate from the device settings, so ensure to check both for optimal audio performance.
Understanding Microphone Sensitivity
For anyone working with audio, understanding microphone sensitivity is vital to achieving top-notch sound quality. Microphone sensitivity refers to the audio device’s ability to convert sound waves into electrical signals, affecting how well it picks up sound. By knowing more about this aspect, you can adjust settings and ensure optimal performance for your recordings or live performances.
What is Microphone Sensitivity?
Among the significant parameters of microphone performance, sensitivity determines how effectively your microphone captures sound. Expressed in volts per pascal (mV/Pa), it shows how much output voltage your mic generates in response to a given sound pressure level. This measurement helps you understand the capabilities of your microphone, guiding you in its proper usage.
Importance of Adjusting Sensitivity
Before exploring into your audio projects, it’s important to adjust your microphone’s sensitivity settings. The right level can make a difference in how well your sound is captured—increasing clarity while minimizing unwanted noise. If your sensitivity is set too high, you might pick up unwanted background noise; too low, and your sound may lack detail and fullness.
Also, adjusting sensitivity is important for balancing sound quality and preventing distortion. Setting it correctly ensures that your recordings remain clear and professional. When you pay attention to these settings, you can capture the desired audio while avoiding issues such as feedback, clipping, or too much ambient noise. This careful calibration allows you to enhance the overall quality of your work, positively impacting your audience’s experience.
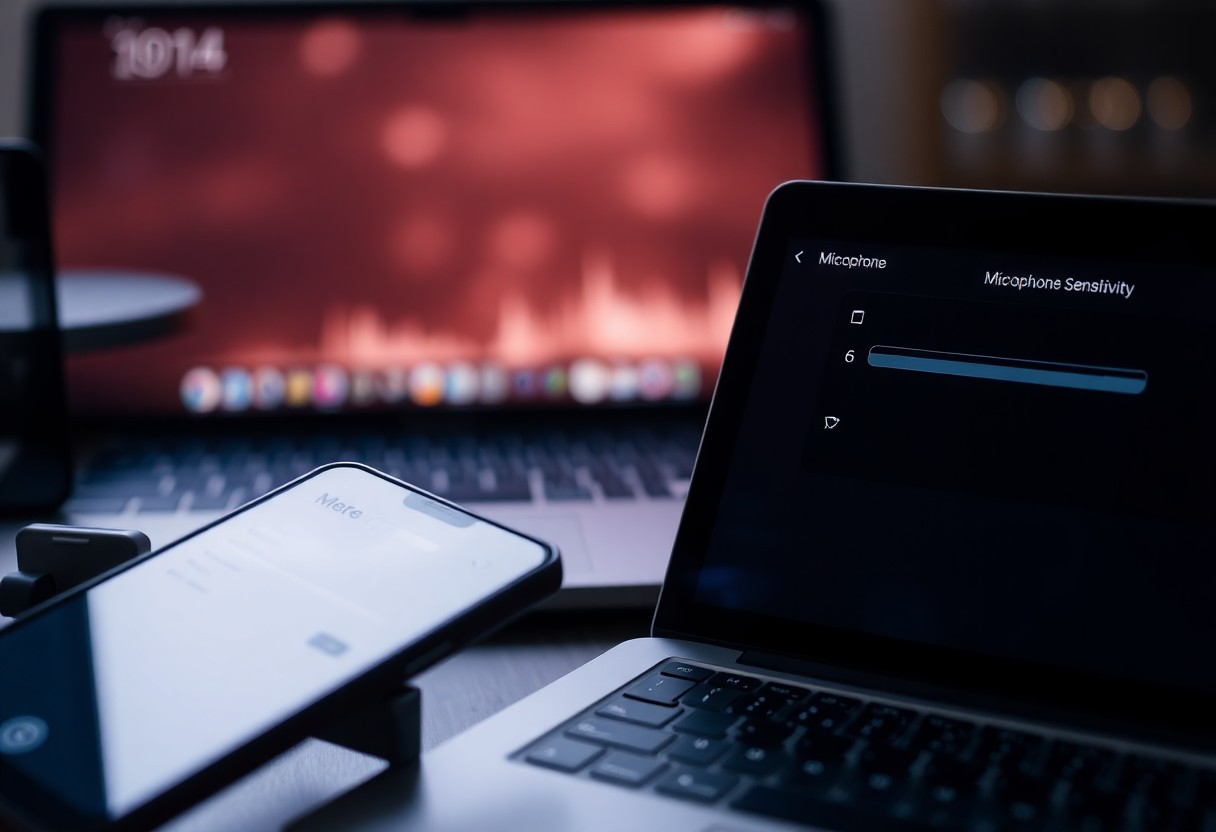
Finding Microphone Sensitivity Settings on Windows
One of the first steps you should take when looking for microphone sensitivity settings on your Windows device is to access the Sound settings. These settings allow you to control various audio devices connected to your computer, including your microphone. You can quickly reach these settings by right-clicking the sound icon in the taskbar and selecting ‘Sound’ from the dropdown menu, or by searching for ‘Sound Settings’ in the Start menu.
Accessing Sound Settings
Above all, it’s imperative to navigate to the ‘Recording’ tab in the Sound window to manage your microphone. Once in this tab, you will see a list of audio input devices. Locate your microphone, and click on it to highlight the selection. Afterward, click on the ‘Properties’ button to access the detailed settings for your microphone.
Adjusting Sensitivity Levels
Any adjustments you make to your microphone’s sensitivity can significantly affect your audio quality. Within the Properties window, switch to the ‘Levels’ tab where you will find a slider to adjust your microphone’s sensitivity. Be cautious when making changes; increasing the sensitivity too much could lead to unwanted background noise, while decreasing it can result in a quieter voice. Your goal is to find a balance that enhances your audio without introducing interference.
Sound levels should always be monitored while you adjust them. Listening tests can help you assess whether the changes yield a clear, robust audio output. Pay attention to any signs of distortion or reduced clarity, as over-amplifying the microphone can lead to feedback or static. Aim for a setting that captures your voice clearly while minimizing ambient sounds, ensuring a positive and clear communication experience.
Locating Microphone Settings on Mac
Now, if you’re looking to adjust your microphone settings on a Mac, the process is quite straightforward. Start by navigating to your Mac’s System Preferences where you can manage various sound-related settings, including microphone sensitivity. With just a few clicks, you can ensure that your microphone is optimized for the best audio input experience.
System Preferences Guide
At the System Preferences menu, locate and click on the “Sound” option. Once there, switch to the “Input” tab, where you’ll find a list of available audio input devices. Select your microphone from the list to access further settings and adjustments.
Configuring Input Levels
At this point, you will want to configure the input levels for your selected microphone. This involves adjusting the input volume slider to increase or decrease sensitivity according to your environment and requirements.
Input levels play a significant role in capturing clear audio. If your input level is too low, your voice may be barely audible to others. Conversely, setting it too high might result in distorted sound when you speak loudly. To achieve the best sound quality, aim for the input level to peak around 75-80% when you speak at your normal volume, ensuring clear audio without any clipping or distortion.
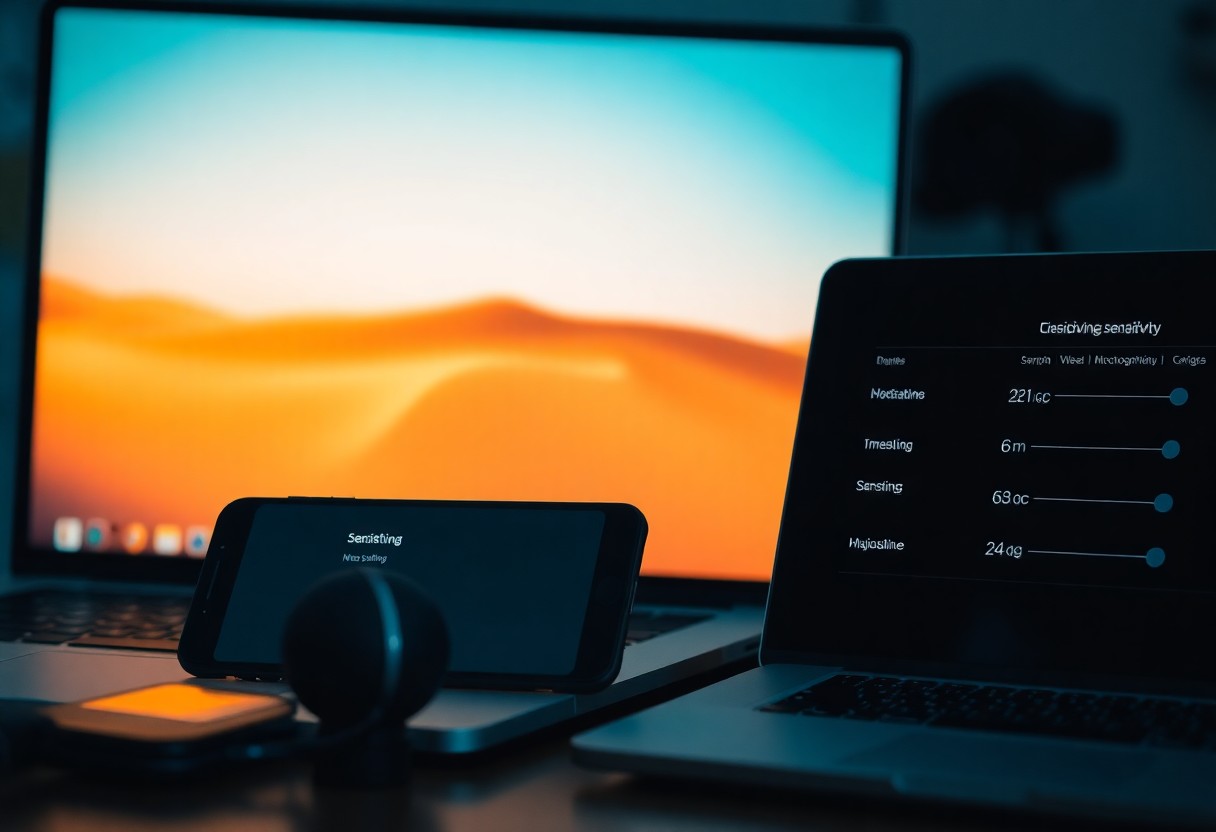
Adjusting Microphone Sensitivity on Mobile Devices
After you’ve located the microphone settings on your mobile device, adjusting sensitivity can greatly enhance your audio experience. Whether you are using your device for calls, voice memos, or gaming, fine-tuning the microphone sensitivity will help improve sound clarity and background noise reduction, ensuring your voice is captured accurately.
Android Devices
On Android devices, you can adjust microphone sensitivity through the settings menu. Go to Settings > Sound > Advanced settings and look for Microphone options. Some devices also allow you to download third-party apps for more control, enabling you to customize settings based on your environment.
iOS Devices
Android devices may have a variety of manufacturers and software versions, but iOS devices consistently provide options that may help you manage microphone sensitivity. To enhance audio quality, you can explore settings under Settings > Sounds & Haptics. You’ll also find that updating your iOS can affect microphone performance, ensuring that you benefit from the latest enhancements.
Another way to enhance your experience on iOS is by utilizing the Voice Memos app which allows you to test and adjust the recording level in real time. Ensure that your microphone is clean and free from obstructions as even minor dirt can affect sound quality. It’s also beneficial to use high-quality headphones with built-in mics as they often provide clearer audio input, improving your recordings. By optimizing settings and using the right accessories, you can significantly boost your audio performance.
Troubleshooting Common Microphone Issues
Unlike many settings that are easy to adjust, microphone issues can sometimes be tricky to diagnose. When you encounter problems with your microphone, it’s vital to consider various aspects, from hardware to software. By methodically troubleshooting these common problems, you can enhance your audio experience, whether for communication or recording purposes.
Low Sensitivity Problems
Sensitivity issues often manifest as a faint or barely audible microphone signal. This could be due to incorrect settings or faulty hardware. Ensure your microphone is adequately positioned and free of obstructions, and check your sensitivity settings to make necessary adjustments.
High Sensitivity Problems
Sensitivity settings that are excessively high can capture too much ambient noise, resulting in distorted sound quality. This often leads to frustrating listening experiences in calls or recordings, where background noises overwhelm your voice.
Indeed, addressing high sensitivity issues requires adjusting your settings carefully. Be cautious, as over-amplifying can introduce unwanted noise, interfering with your audio clarity. To optimize your microphone, consider utilizing noise-cancellation features or repositioning the device to minimize unwanted background sounds. This ensures a smoother and more pleasant experience for both you and your listeners.
Tips for Optimal Microphone Performance
All users should focus on a few key aspects to enhance their microphone’s performance:
- Placement – Position your microphone correctly for clear audio.
- Environment – Reduce background noise for better sound quality.
- Settings – Adjust the microphone settings on your device.
- Maintenance – Keep your microphone clean and in good condition.
Perceiving these factors will significantly improve your overall audio experience.
Placement and Environment
Along with correct placement, your microphone’s performance can greatly benefit from a controlled environment. Choose a quiet space, avoiding areas with reflective surfaces, which can lead to echo and distortion. Position your microphone close to your sound source, while making sure it’s not obstructed by objects that may interfere with sound clarity. This way, you maintain a crisp, clear signal.
Utilizing External Microphones
About investing in an external microphone can elevate your audio quality dramatically. External microphones offer superior sound capture capabilities compared to built-in options. They are designed for specific environments, whether you’re recording on the go or in a studio setup. Ensure you select a microphone that suits your needs, like a directional mic for focused sounds or a lapel mic for interviews.
Microphone quality impacts your audio significantly. A well-chosen external microphone not only enhances sound fidelity but can also reduce unwanted noise. This investment can prevent frustration during recordings and provide a more professional finish to your content. When opting for a microphone, look for features like frequency response and dynamic range to match your use case effectively.
Summing up
To wrap up, if you can’t find mic sensitivity settings on your device, don’t worry—naavigating the audio settings can be straightforward once you know where to look. Whether you’re using a smartphone, computer, or gaming console, venturing into the audio or sound settings should lead you to the right controls. By following the guidelines specific to your device, you can easily adjust your microphone sensitivity to achieve the best audio quality for your needs. Armed with this knowledge, you can enhance your audio experience effortlessly.
FAQ
Q: What are mic sensitivity settings, and why are they important?
A: Mic sensitivity settings allow users to adjust how sensitive their microphone is to sound. This is important for ensuring optimal audio input quality, especially in different environments. A mic that’s too sensitive may pick up unwanted background noise, while one that’s not sensitive enough may miss important audio signals.
Q: How can I find mic sensitivity settings on Windows devices?
A: On Windows devices, you can find mic sensitivity settings by right-clicking the sound icon in the taskbar, selecting ‘Sounds’, and then navigating to the ‘Recording’ tab. Choose your microphone from the list, click ‘Properties’, and go to the ‘Levels’ tab. Here, you can adjust the mic volume, which affects sensitivity.
Q: Where can I locate mic sensitivity settings on Mac computers?
A: To find mic sensitivity settings on a Mac, go to ‘System Preferences’, then click on ‘Sound’. Under the ‘Input’ tab, you will see a slider for ‘Input volume’ that you can adjust to change the mic sensitivity. Test your microphone to determine the optimal level.
Q: How do I access mic sensitivity settings on Android devices?
A: On Android devices, mic sensitivity settings are typically located within the app that is using the microphone, as there are no system-wide settings for mic sensitivity. However, you can check if your device has any Voice Settings or Accessibility options in ‘Settings’ that could allow for mic adjustments.
Q: What steps should I take to find mic sensitivity settings on iOS devices?
A: iOS devices do not have explicit mic sensitivity settings. However, you can control input levels through specific apps that support audio recording or communication. Access the microphone settings through the app settings and look for volume controls or sensitivity adjustments based on the app’s feature set.